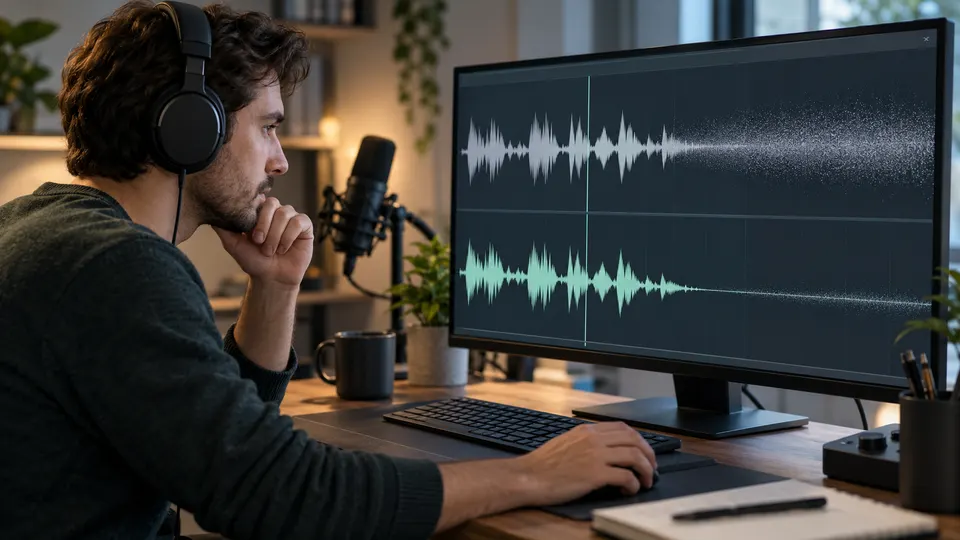
To remove hiss from video audio, first confirm that the problem is a steady broadband layer rather than electrical hum, wind, clicks, clipping, or room echo. Preserve the original, choose a representative passage containing normal speech, a quiet phrase, and a short pause, then apply the lightest noise reduction that improves intelligibility. Compare the same moment at matched loudness and listen closely to S, F, T, breaths, and word endings. If speech becomes dull, watery, metallic, or harder to follow, reduce the processing and accept a small amount of natural background noise.
Quick answer
Hiss is usually a fairly steady high-frequency noise floor, so it is often more repairable than changing traffic, keyboard clicks, or competing voices. Start from the camera original or least-compressed audio export, test the hardest useful 20 to 30 seconds, and stop before consonants and breath detail disappear. Clear, natural speech matters more than a silent waveform.
- Confirm that the sound is steady hiss rather than hum, wind, clicks, clipping, echo, or another person.
- Use noise reduction for hiss while speech is present; use a gate only to lower noise during pauses.
- Compare Original and Cleaned at the same point and perceived speech loudness.
- Fix microphone placement and gain before the next recording.
Diagnose the sound before choosing a tool
Hiss, static, and microphone noise are often used for different failures. A fine, steady shhh across most of a clip can come from a microphone, preamp, wireless link, tape, or electronic noise floor. One low stable tone with harmonics is more likely electrical hum. Crackles, dropouts, or bursts point toward cables, wireless transmission, clocking, clipping, or damaged media. Airy roar that changes with movement is usually wind; repeated sharp ticks may be keyboard, mouse, mouth clicks, or impacts; long voice tails belong to room reverberation; and another person talking is competing speech.
Audacity's official Noise Reduction manual lists hiss among the constant background sounds the effect can reduce, while warning that irregular traffic and audience noise are not the same problem. That diagnostic distinction is useful regardless of which editor or online workflow you use.
- Steady broadband layer: test conservative hiss or broadband reduction.
- Stable low tone and harmonics: use a focused de-hum workflow.
- Clicks or dropouts: repair locally or find another track.
- Wind, echo, keyboard transients, or overlapping voices: use a purpose-specific workflow and realistic limits.
Why hiss can be reduced—but not always removed cleanly
A steady noise floor gives a restoration process a repeated pattern to estimate. When the wanted voice is clearly louder than that pattern, the process may lower the background while keeping enough speech detail. The difficulty is that hiss occupies frequencies that also contain consonants, breath, presence, and the edges of syllables.
More reduction is not automatically better. If processing starts treating soft speech as noise, the result may sound lisped, dull, hollow, underwater, or metallic. Quiet words can break into short gaps, and room tone can rise and fall unnaturally between phrases.
Adobe's current restoration documentation separates Hiss Reduction from broader Noise Reduction and notes that stronger reduction can distort the remaining signal. The tool-independent lesson is to use the lowest useful amount and audition what is being removed whenever the editor provides an output-noise-only or residue check.
1. Preserve the best source
Duplicate the original camera, recorder, or microphone file before editing. If the video editor can reference camera-original audio directly, keep that link intact. Avoid converting to a low-bitrate MP3 just to run cleanup; repeated lossy encoding can add swirls and high-frequency artifacts that resemble hiss.
If several sources exist, compare them first. A lavalier, camera microphone, screen recorder, and conferencing track may contain different balances of voice and noise. The quietest-looking waveform is not necessarily the clearest recording. Keep the untouched source on a muted track and label every processed version.
2. Find a representative test section
Choose a short passage containing an ordinary sentence at the speaker's normal level, a quiet word or sentence ending, clear S, F, T, K, and SH sounds, a breath, a brief pause containing mostly hiss, and the worst normal hiss in the clip. Do not build a setting from a convenient silent opening if microphone gain or noise changes later. Test the material viewers actually need to understand.
Include a cut or transition if the final video contains several takes. A setting that works on one microphone position may make the next angle pump or sound unnaturally dry. A short repeatable test lets you compare decisions without being distracted by different words.
3. Confirm that the hiss is reasonably steady
Listen through the selected passage on headphones. A consistent fine noise bed is a reasonable candidate for steady-noise cleanup. If the sound crackles, changes pitch, pumps with automatic gain, or appears only when a cable moves, treat it as a different failure.
If hiss becomes louder whenever the person stops talking, automatic gain control may be raising the noise floor. A single fixed profile may not match every section. Split the recording into regions or use gentler adaptive processing instead of one aggressive setting across the whole file. If a wireless link drops syllables, no amount of hiss reduction can reconstruct the exact missing speech.
4. Apply the lightest useful reduction
Create a cleaned preview and compare it with the untouched source at the same playback position. If the editor offers a noise profile, capture it from a passage containing the hiss without important speech. If it offers a simple strength control, start low and increase only while intelligibility improves.
NoiseVanish is intended to reduce steady background noise around spoken audio and video, including hiss, fan wash, air conditioning, hum, traffic beds, and some wind. Use the video-noise preview to test whether the hiss falls while the voice remains useful. It is not a promise to repair clipping, remove keyboard clicks, separate overlapping people, erase music, or undo severe echo.
When a noise-only preview is available, listen for speech leaking into what the tool intends to remove. If you hear consonants, breaths, or quiet words in the residue, lower the reduction before processing the full recording.
5. Compare at matched loudness
A louder version often sounds clearer even when it contains more artifacts. Match the perceived level of Original and Cleaned before choosing. Alternate several times over the same phrase rather than listening to two different sections. Then play the cleaned version continuously for at least a minute, because fatigue and metallic texture may not be obvious in a quick switch.
Ask whether words are easier to understand, consonants and word endings remain intact, the background stays reasonably stable between phrases, and a small amount of remaining hiss would be less distracting than the processed voice. Check headphones first and then ordinary speakers or a phone.
- Listen to names, numbers, and quiet instructions without captions.
- Check S, F, T, K, breaths, and the ends of phrases.
- Watch for pumping or sudden digital silence between words.
- Keep the least processed version that improves the message.
6. Check the full edit, not only the soloed track
Put the cleaned result back under the picture. Listen across cuts, fades, music changes, B-roll, captions, and transitions. A nearly silent processed clip can make adjacent unprocessed shots jump in noise level. Sometimes a light, consistent room tone is more believable than alternating between hiss and digital silence.
For longer edits, preserve the original audio on a muted track. Review the beginning, midpoint, and end for sync, and check that sample-rate conversion did not create drift. The delivery is a video, so approve the sound while watching the picture rather than only in an audio editor.
Noise reduction versus a noise gate for hiss
A noise reducer can lower a steady hiss while someone is speaking. A gate or expander turns the level down mainly when speech falls below a threshold. The hiss therefore remains under the voice whenever the gate is open.
If a gate is set too aggressively, quiet words and sentence endings can disappear. If release is too fast, the background may snap on and off. A cautious combination can work: light steady-noise reduction first, followed by gentle expansion during true pauses. Avoid stacking maximum-strength denoise, a hard gate, speech enhancement, and heavy compression.
Why speech becomes dull, metallic, or watery
Hiss overlaps high-frequency information that makes speech crisp. When processing removes too much of that region, S and F sounds soften, breaths vanish, and the voice loses presence. Time-varying estimation can also create musical or bubbly fragments.
If that happens, return to the original rather than processing the damaged output again. Lower the reduction amount, use a less exact or less aggressive profile, blend a small amount of the original back when the editor supports it, or process only the worst section. Preserve a little hiss during speech and lower it more during genuine pauses. Downstream EQ cannot recreate exact speech detail that was removed.
Fix the source before the next recording
The most reliable hiss removal happens before capture. Move the microphone closer so wanted voice reaches it more strongly. Lower unnecessary preamp gain, but do not record so quietly that both voice and noise must be amplified heavily later. Monitor through headphones from the actual recording device.
Shure's home-recording guidance recommends sample recordings because microphones reveal background hiss and mechanical noise that listeners may ignore in the room. Test the same microphone position and gain you will use for the full take. Disconnect unnecessary adapters or chargers one at a time, compare a known-good cable, check wireless transmitter and receiver levels, keep microphones away from laptop fans, and record a quiet sentence, normal sentence, and pause before the real take.
Do not change electrical wiring or open powered equipment unless you are qualified. A steady tone linked to power is better handled as hum, not hiss.
Limits: when a new source is better
Cleanup cannot restore detail that was never recorded. Look for another take or rerecord narration when the voice is barely above the hiss, the microphone preamp is distorted, wireless dropouts remove syllables, or several kinds of noise overlap important words.
For names, numbers, instructions, accessibility narration, legal language, medical information, or safety guidance, accept only a result that remains clearly intelligible. A quieter background is not an improvement if the message becomes ambiguous. Competing speech, loud keyboard strikes, severe room echo, and music require different workflows and may still be inseparable when they overlap the wanted words.
Frequently asked questions
Can AI remove microphone hiss completely? It may reduce steady hiss substantially when speech is stronger than the noise. Complete removal is not guaranteed and can damage consonants or room tone. Keep the least processed result that improves intelligibility.
Should I use EQ to cut hiss? A high-frequency cut may lower hiss, but it also dulls speech. Profile-based or broadband reduction is usually more selective. Use EQ only when you can hear and justify the trade-off.
Do I need a silent noise sample? Some editors use one; others estimate noise automatically. A clean hiss-only sample can help profile-based processing, but a sample containing speech or music can make the tool remove wanted sound.
Why is the hiss louder in pauses? Automatic gain control, compression, or normalization may raise quiet sections. Inspect the recording and editing chain before increasing denoise.
Can a gate remove hiss under speech? No. A gate reduces level mainly when speech is absent. While the gate is open, hiss remains under the speaker.
Related NoiseVanish guides
Sources and update notes
This article was reviewed on September 30, 2026. Product interfaces and third-party features change; check the linked official documentation before relying on exact tool behavior.