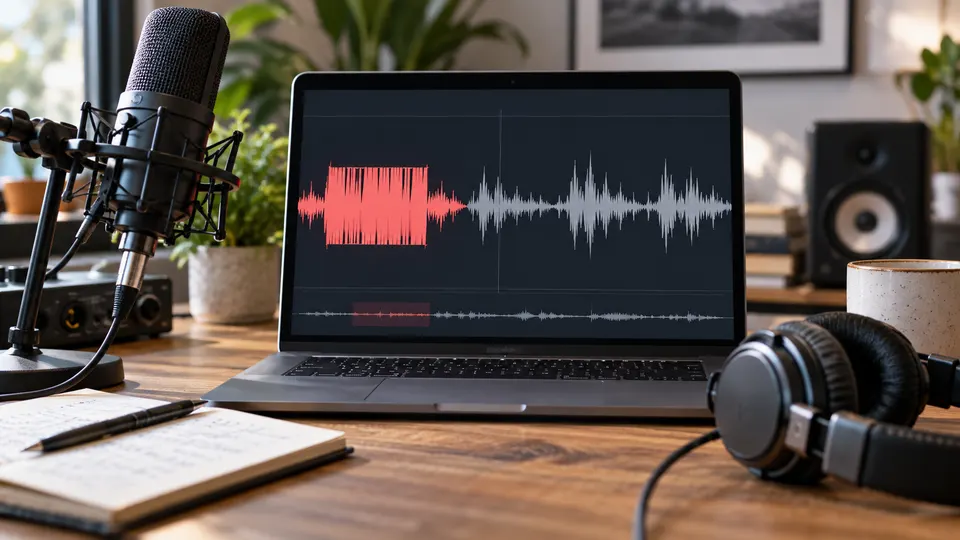
To fix clipped speech, first confirm that the distortion is in the saved file rather than your playback device or an editor's processing chain. Recover a cleaner source if one exists, then test a dedicated declipping repair on a duplicate of a short damaged passage. Reducing playback volume prevents further overload but does not restore peaks already lost during recording. Noise reduction addresses a different problem: unwanted background sound around speech. It cannot reliably recover missing words or an overloaded microphone. Keep a repair only when the voice becomes easier to understand, and prefer a retake when distortion remains severe.
Quick answer
- Compare the original file, the editor preview, and the exported video.
- Listen on a second playback device before altering the recording.
- Use a cleaner microphone track or earlier export when available.
- Test declipping cautiously; do not promise recovery of uncaptured sound.
- Treat remaining steady background noise separately, after evaluating speech damage.
A quieter waveform is not necessarily a repaired waveform. If speech is already crunchy in the original, turning the file down can make it less loud while leaving the distortion intact. The diagnosis determines which kind of processing is worth trying.
Clipping, background noise, and playback crackle are different
Clipping is a form of overload. Part of the signal exceeds the available range or another component's capacity, and the resulting recording may lose its natural peaks. In speech, you may hear rasping, harsh bursts, or crunchy edges around louder syllables.
Background noise is an additional sound in the recording: fan wash, hiss, traffic, or another source. It can coexist with clipping, but removing that sound does not reconstruct a damaged voice. A gate also cannot fix a loud distorted syllable merely by closing during pauses.
Playback crackle is another possibility. The same file may sound different through another speaker, browser, or device. Microsoft's distorted-audio troubleshooting guide includes checking playback settings and enhancements. That is a playback investigation, not evidence that every crackling recording is repairable.
| Observation | Working diagnosis | First useful check |
|---|---|---|
| Only one device crackles | Playback path may be involved | Play the untouched file elsewhere |
| Raw recording is clean, export is harsh | Editing or export chain may overload | Bypass effects and inspect output level |
| Loud syllables rasp in every version | Recorded distortion may be present | Find another mic track or test declipping |
| Fan wash continues through pauses | Steady background noise | Preview restrained noise reduction |
| Isolated ticks interrupt otherwise clear speech | A local transient or recording fault | Inspect the short affected region |
This table is a diagnostic starting point. More than one row can apply, and a waveform image alone does not establish where damage occurred.
Step 1: locate the least-processed source
Find the recorder's original file before using an export from a messaging app or a screen capture of the final video. Ask for separate microphone tracks, a camera backup, or the editing project if the recording belongs to a team. A better source can solve a problem more convincingly than another restoration pass.
Make an untouched backup and a separate working copy. Label the source and each processing version clearly. Do not overwrite the only recording, especially when the words cannot be rerecorded or when a client needs a record of the changes.
Compare a short loud passage across the available files. If the microphone track is clean but the finished video is not, focus on the mix and export chain. If the same harshness appears in all original tracks, post-production has a harder task.
Check one quiet sentence too. An alternate microphone may avoid overload but introduce room echo, distance, or different timing. Source replacement is a tradeoff, not automatically an improvement. Preserve video synchronization and listen at transitions where you change tracks.
Step 2: separate recorded damage from playback problems
Play the untouched file outside the editing application, at a comfortable volume. Then try a second playback device or headphones. If distortion follows the file, that supports a recording or export problem. If it occurs only in one playback setup, investigate that setup before permanently changing the media.
In the editor, temporarily bypass processing on a duplicate project. Compare the untreated track with the output through the full chain. A compressor, limiter, equalizer, gain stage, or master bus can change how loud the signal becomes. Lowering a later fader does not necessarily undo overload earlier in the chain.
Test an export with unnecessary effects bypassed. Keep the source, test export, and normal export distinct so you can identify where the sound changes. Do not conclude that a platform damaged the audio unless the file before upload and the playback after upload actually differ in the passage you are assessing.
This check also prevents an expensive mistake: paying for restoration of a file that was never damaged, when the real issue was a playback enhancement or an overloaded editor output.
Step 3: inspect the damaged passage carefully
Listen for the exact moment the harshness begins. Does it coincide with a louder word, a close microphone position, or an edit boundary? Does it last through an entire sentence or only a brief peak? These observations help you decide whether a focused experiment is reasonable.
Zoom into the waveform if your editor supports it. Flattened peak regions can be a clue to digital clipping, but their absence does not rule out microphone or analog-stage distortion. Conversely, a heavily limited waveform can look dense without every part being damaged in the same way.
Avoid assigning a cause solely from the word “static.” Users use that word for hiss, ticks, dropouts, overload, interference, and playback crackle. A repair method should follow the actual symptom and source comparison rather than the label.
If an important consonant is missing or a whole loud phrase is badly distorted, lower your expectations. Reconstruction may make a passage less objectionable, but it cannot be treated as recovery of the exact original performance.
Step 4: test a dedicated declipping repair
Audacity's official Clip Fix documentation describes interpolating clipped peaks and notes that severe damage can remain audible. A reconstructed peak is an estimate, not a recording of information that was never captured.
Work on a duplicate short passage that includes the distortion and enough surrounding speech to judge continuity. In the documented Audacity workflow, Clip Fix is under Noise Removal & Repair. Give the repair headroom to reconstruct peaks, using the effect's amplitude-reduction control rather than assuming the output should stay equally loud.
Preview one restrained experiment and compare it with the untreated copy. Change one parameter at a time if your version supports adjustment. Listen for softer distortion, but also for new buzzing, odd word shapes, or unnatural transitions. Do not keep a change only because the waveform looks rounder.
Avoid running the same repair repeatedly across a whole interview without checking results. A passage with a few clipped peaks and a passage with sustained overload are different cases. A useful local improvement does not establish that every speaker and every loud moment will benefit.
If a tiny isolated fault remains, Audacity's Repair documentation describes a different short-selection tool. It is not a replacement for repairing a long distorted sentence. Use the method's actual selection limits and judge the result in context.
Step 5: decide whether remaining noise needs treatment
After evaluating the speech damage, listen for a separate steady noise bed. A fan or hiss may still be distracting even when clipping is the larger defect. Keep that decision separate from whether the repair recovered an intelligible voice.
NoiseVanish is intended to reduce steady background noise around speech in recorded audio and video. It is not a dedicated declipping tool, and it does not promise to rebuild an overloaded microphone recording. If steady noise is the remaining problem, try a representative preview through the video noise-reduction workflow.
Keyboard impacts, background voices, overlapping audio, and severe room echo may remain or need another approach. Aggressive cleanup can make a distorted voice even harder to follow. Do not trade the remaining syllables for a quieter background.
If metallic or watery speech appears only after cleanup, compare with the untouched source and consult our metallic-audio troubleshooting guide. That article addresses processing artifacts; this one primarily addresses distortion already present before cleanup.
A repeatable listening test
Use three short passages: ordinary speech, the worst loud phrase, and a quieter sentence ending. Save the same selections from the original and each candidate repair. This is a suggested evaluation method, not a benchmark or a claim that NoiseVanish repaired a particular recording.
Compare at similar perceived loudness. A quieter candidate can appear less harsh simply because you hear it less loudly. Keep playback comfortable and avoid boosting one version into new overload while trying to match the other.
Write down the words that are difficult to understand before viewing a transcript. Then compare whether those same words are easier to hear in the repaired copy. Also record any new artifact and whether the background has become unnaturally uneven.
Check both headphones and an ordinary speaker when practical. A subtle repair may sound acceptable in isolation but distracting under picture or beside adjacent untreated sentences. Listen to the edit boundary, the speaker's breaths, and the final consonants of important words.
Accept the least destructive version that improves the task. If all versions remain unclear, document that limitation rather than presenting the most processed file as a successful repair. Keep the original available for future review or a different restoration approach.
When a retake or alternate source is the better fix
A retake is often preferable when overload lasts through important words, reconstruction creates distracting artifacts, or the final audience cannot reliably understand the speech. For a tutorial, a short replacement voiceover may be more useful than extensive processing of an irreparable sentence.
For future recordings, monitor the loudest expected speech rather than setting gain from a quiet greeting. Leave practical headroom, maintain a stable microphone distance, and make a short test recording before the session. Do not assume a meter reading in one application guarantees that every upstream component is safe from overload.
When you cannot rerecord, be transparent about what remains. A caption can help an audience, but it should be checked against reliable source material; do not invent missing words from an uncertain repair. The audio-editing order guide helps place restoration experiments before final mix and export decisions.
FAQ
Does turning down the volume fix clipped audio?
It can prevent new overload during playback or editing. It does not restore peak information already lost in a recorded file. Compare the source and the output chain to learn which situation applies.
Can noise reduction remove distortion from a voice?
Not reliably. Reducing an unwanted background sound and reconstructing damaged speech are different tasks. If distortion is already in the original, investigate the source and dedicated repair before using a noise remover.
Why is the recording distorted even though the waveform is below the ceiling?
The file may have been turned down after damage occurred, or distortion may originate elsewhere in the capture chain. A lower current peak is not proof of a clean recording history.
Should I process the whole video after one successful test?
Check other speakers, loud passages, and quiet endings first. A useful repair on one region does not guarantee the same result throughout a finished mix. Keep the untouched source and inspect the export.
Next step and editorial note
Diagnose the voice first. If you have intelligible speech with a separate steady noise bed, NoiseVanish offers a preview-led path to evaluate background-noise reduction. Stop if the preview damages clarity; missing words, overlap, transients, and severe echo remain limitations.
Prepared by the NoiseVanish Editorial Team. Sources were checked on October 2, 2026. The listening procedure is editorial guidance, not a measured before-and-after test. The cover is an AI-generated illustration.